
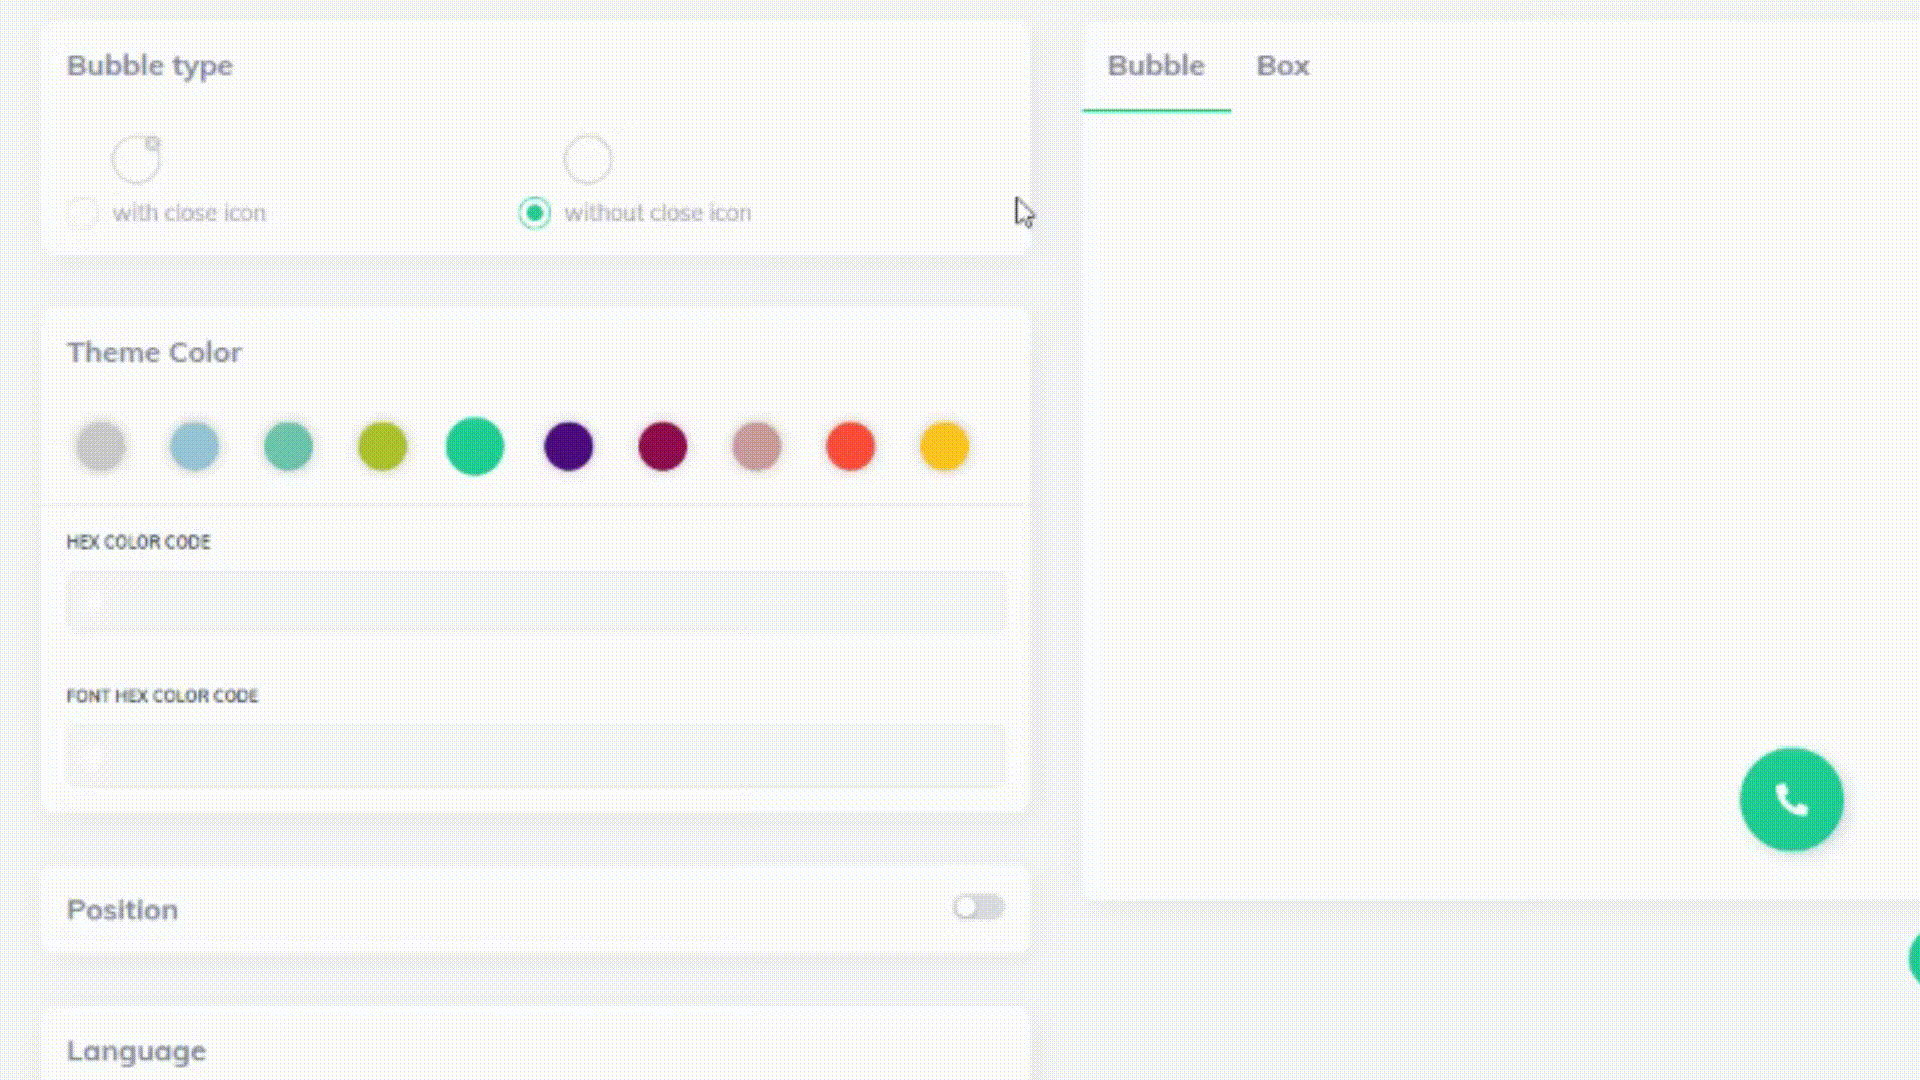
Choose how your Web Call bubble appears to visitors with two sleek options:
With close button - allows visitors to dismiss the bubble
Without close button - keeps the bubble always visible
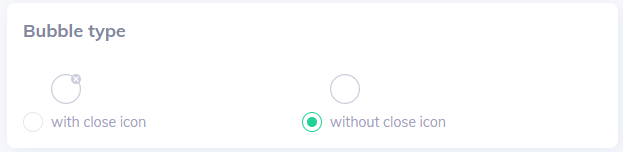
💡 Pro Tip: Choose the option that best matches your customer engagement strategy.
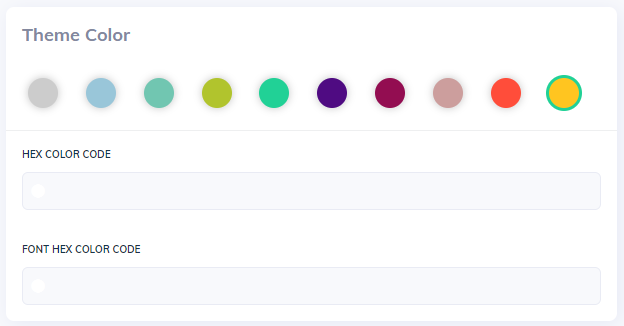
Make your widget match your brand perfectly with our flexible color options:
Option | Description |
Default Colors | Pre-selected palette of professional colors |
Hex Color Code | Enter your exact brand color code |
Font Hex Color Code | Customize text color within bubbles |
💡 Design Tip: Use your brand’s primary color for consistency across your website.
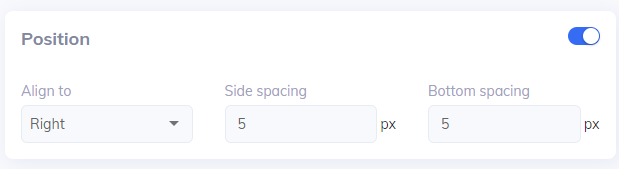
Plus, you can move the bubble around! Changing the position will decide where it shows up on your page. You can put it on the left or right of the screen, and even adjust how far it is from the edge and the bottom of the page.
The last box - Language - allows you to modify all the text displayed on the Web Call widget. You can change the bar description and the text for both starting the call and hangup buttons. This option will allow you to make the widget fit perfectly to the rest of your website.
The "Language" box lets you change all the text in the call widget. You can edit the words in the top bar and the text on the "Start Call" and "Hang Up" buttons. This makes the widget a perfect match for your website.
After you've customized the widget all you need to do to save the implemented changes is to press the Publish button and confirm the process!
Once that's done, you'll need to integrate your bubble with your website!
