Inviting a user
If your operation is larger or needs extra help, add users to your Channels account. Anyone who must access the account—to make or take calls or to view performance—needs a user account.
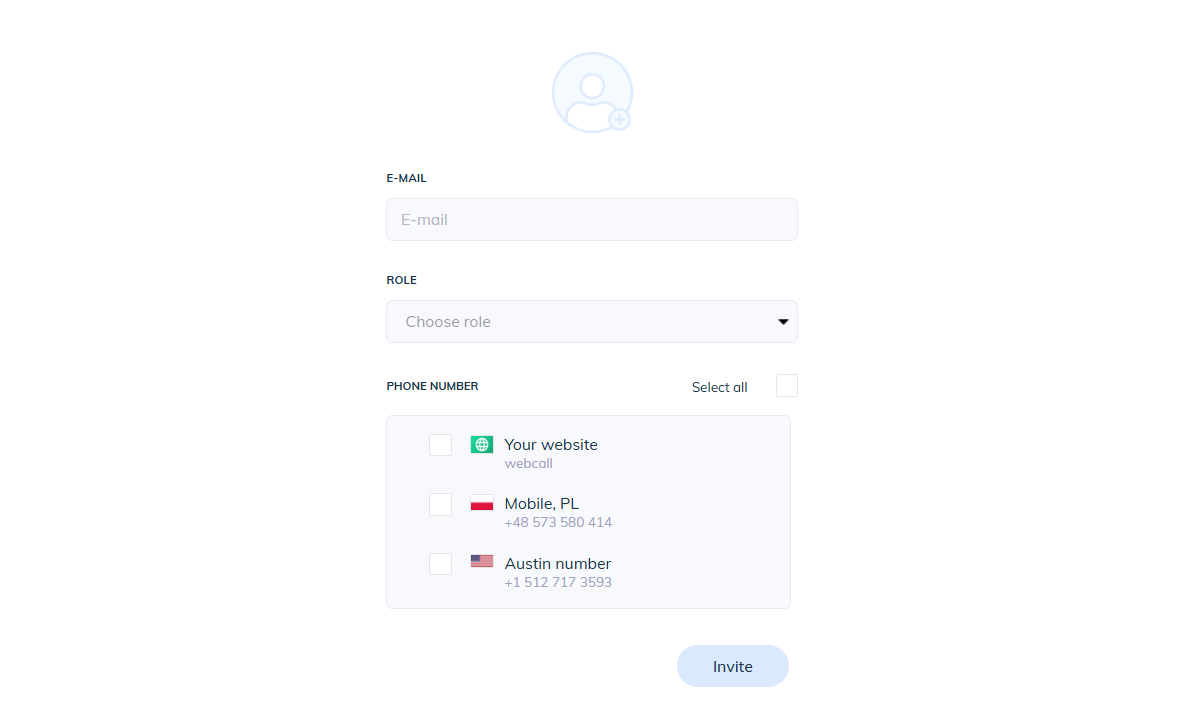
To add users, open the Manager Panel and select the "Users" tab on the left. Click "Invite User" at the top, enter the user's role and email address, check the details, and then click "Invite."
An invitation to join Channels will be sent to the email address you entered. The invited person will appear in the user list with a "Pending" status.
When the user gets the invitation, they should accept it and enter their name, surname, and a password to sign in to the app.
If the invitation is not answered, you can resend the email or cancel the invitation. Click the pending user’s name to choose either option.
User roles
There are two user roles you can assign:
Agent - can make calls, view call history, and listen to call recordings.
Owner - has all Agent permissions plus administrative controls and access to financial settings.
You cannot permanently delete a user because past event data must stay intact, but Channels lets you deactivate an account. This is useful when you need fewer team members, want to block someone's access, or plan to reduce your monthly subscription cost.
Deactivating a user stops them from signing in and taking any actions in your account.
To deactivate a user, click the pencil icon in the top-right corner, use the status toggle to turn the account off, and save your changes. The user will then be inactive.
You can reverse this process by activating these users account once again.
