Creating a Web Call bubble is easy with our configurator. Follow the steps below to start and connect with visitors on your site.
Open your manager panel and choose the "Web Call" section to begin setup.
Enter the URL of the site where you want the Web Call bubble to appear in the first field of the settings page.
For example:
https://support-channels.shopify.com
and so on…

Want to display your Web Call bubble on subdomains as well? Just enable the "Display on subdomains" option!
Subdomains usually look like this:
"https://subdomain.maindomain.com"
For example:
https://sso.channels.app (Channels subdomain allowing users to log in).
Customize where your Web Call bubble appears!
You can:
Specify Devices: Choose which devices (e.g., desktop, mobile, tablet) will display the Web Call bubble.
Control Widget Visibility: Decide if the widget is shown to customers or hidden.
The Visibility setting is especially handy! It lets you disable the Web Call bubble temporarily without deleting your setup. This is perfect when you are making changes or testing new configurations.
For even more control, you can enable Display Conditions. This lets you set rules that determine when your Web Call bubble appears.
You have two logic options:
"AND" Logic (All conditions must be met): The bubble appears only if every single condition you set is true.
"OR" Logic (Any condition can be met): The bubble appears if even just one of your set conditions is true
You can set display conditions based on factors like: user time spent on the website, pages they've visited, or their browsing behaviour. Let's look at an example configuration to illustrate how this works:
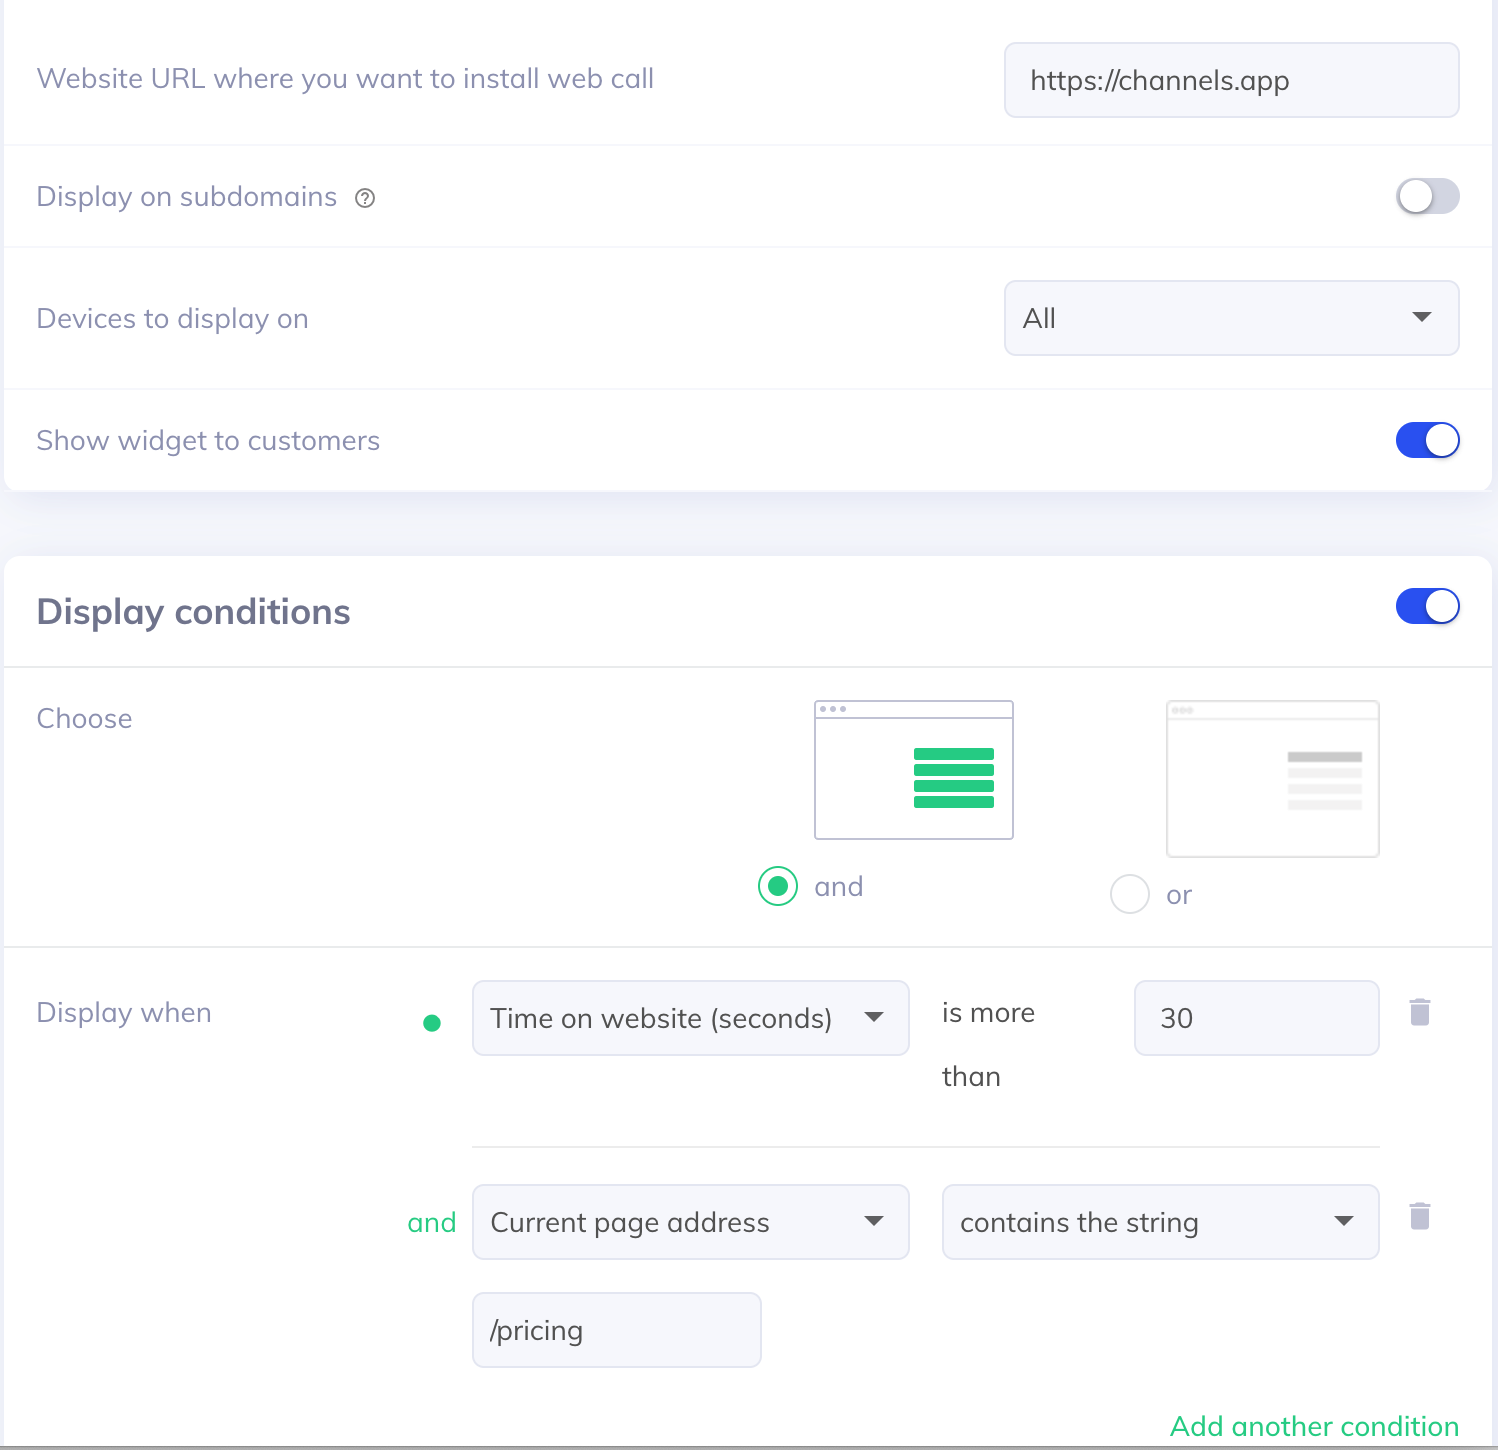
Example Configuration:
This setup will make your Web Call bubble appear only to users who have spent more than 30 seconds on the https://channels.app/pricing page.
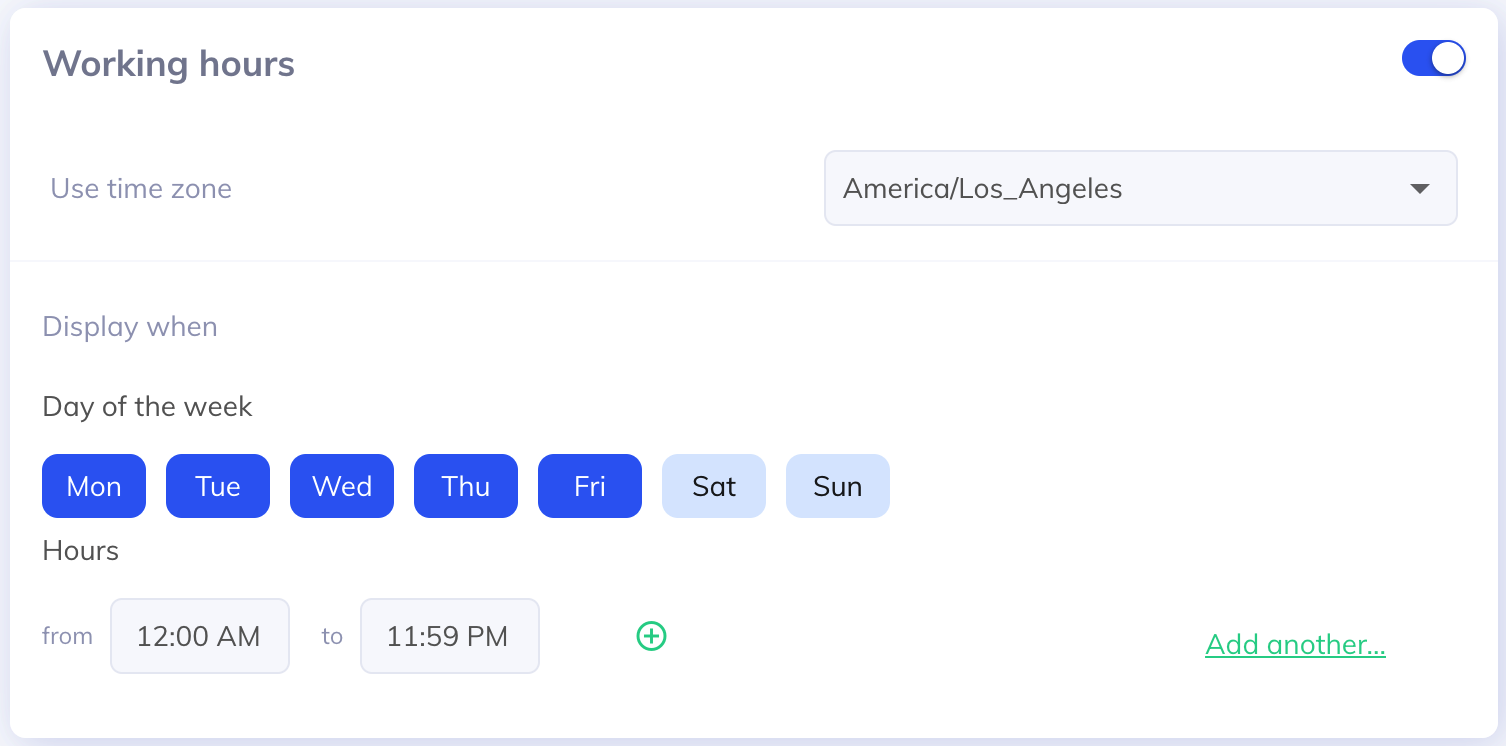
The final display setting option is Working Hours. Use this to schedule when your Web Call bubble is displayed.
Click here to see how to change your bubble's appearance!
